The Course details provide a way for a course to be configured.
The course name can be changed using the course name text box.
This name is used to refer to the course throughout the app. |
|
Optionally, add an image for the course by pressing the image box.
A course image can be acquired directly from the camera, or selected from the photo library. If the device does not have a camera, only photos from the photo library can be used.
If an image is present, it is used throughout the app to refer to the course, along with the course name. |
|
Press the Holes button to display the list of holes for the course. For more information on adding and configuring holes for a course, see Holes.
Holes must be configured in order for a course to be played in a game. |
|
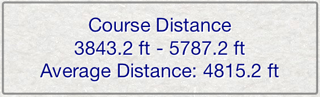
The course distance area displays the distance range of the course, the minimum to maximum and the average distance.
In order for course distances to be displayed, the course's holes must be configured with distances.
If GPS fixes are available for tees and baskets, they distances are calculated automatically. Otherwise, the distances entered for the basket layouts is used. |
|
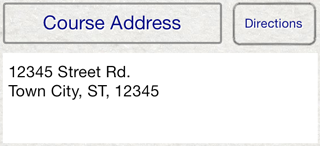
The address of the course can be entered into the Course Address area.
If a course address is entered, the Directions button will open the Maps app and show driving directions from the user's current location to the course. |
|
The Notes area provides a way to record any notes for the course. |
|
The Choose Default Tees button will display the possible tee colors.
Selecting a tee from the list will set the default tee for all holes in the course to the selected tee.
This makes it easy to configure a course to load specific tees during game play. |
|
The Map button will display the course on a map, showing the location of tees, baskets and the user.
In order for the map feature to display tees and baskets, the course's holes must have GPS coordinates for the tees and baskets.
For more information on using the Mapping features, see Maps. |
|
The Share button will display file sharing capabilities for the course.
Courses can then be shared with other users with several options. |
|
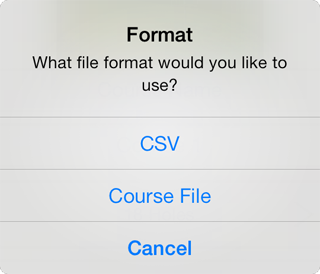
Files can be exported in two formats, CSV (comma separated values) or Course File (The Discer Course File).
CSV files can be opened in a variety of spreadsheet applications and iOS apps.
Course Files can only be opened using The Discer, but contain all information about the course.
Select which file format to use, you will then be prompted to select how to share the file. |
|
AirDrop will allow you to send the file directly to another device, using bluetooth or wifi.
AirDrop is only available on devices with Blue Tooth LE.
Select the device to send the file to when it appears in the AirDrop area.
If the device doesn't appear, check the AirDrop settings in the Control Center on each device. Ensure that AirDrop is on and the correct option is selected to make the device appear. |
|
The Messages option will use the built-in message system to create a new message with the course file attached.
You can enter the contact to send the file to then press Send.
The Messages option is only available on devices that have message capabilities. |
|
The Mail option will use the built-in mail system to create a new email message with the course file attached.
You can enter recipients, subject and message details and send the email with the course file. |
|
The Copy to iTunes button will copy the file into the documents folder.
The documents folder can be accessed using iTunes File Sharing.
Connect your device to iTunes and navigate to the Apps tab.
Navigate to the bottom of the screen to find the File Sharing section.
Select The Discer from the list of apps that support File Sharing.
The files in the documents folder will be displayed in the list. |
|
The Upload to Dropbox option will upload the file to your Dropbox account.
You must have a Dropbox account and login credentials to use the Dropbox file sharing feature.
For more information on using Dropbox File Sharing, see Dropbox. |
|
The Upload for Public option will upload the course to make it available online.
If the course passes review, it will soon become available in the list of courses available for download to all users.
This option is only available for Course Files, it is not available for CSV files. |
|
The Preview File option will display the file in a new window.
While interacting with the document, it is possible to print, message, mail and send the file to other apps that support the file format.
This option is only available for CSV files, it is not avialable for Course Files. |
|